|

|
T-Batch
One of the gems of the !Tsuite platform, this component allows you to manipulate source text files for job processing. As you will see, this gives you a lot of power and flexibility in managing your data.
|
Main Screen
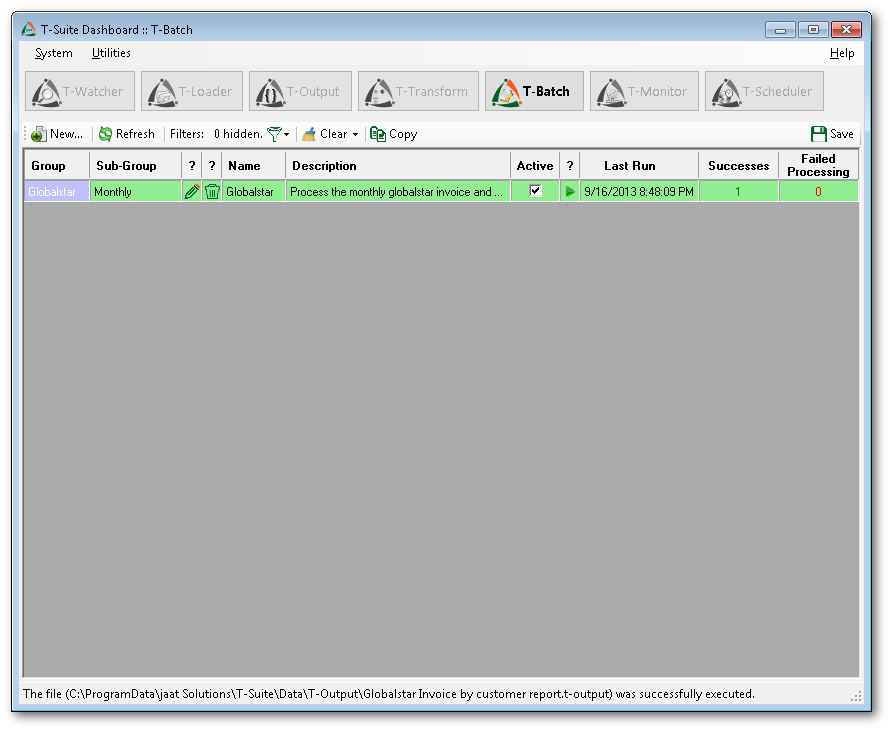
This is where the user selects the T-Batch definition to be worked on.
From here a user can:
- Add
- Edit
- Delete
- Make inactive / active
- Run the batch definition
|
 |
Step 1
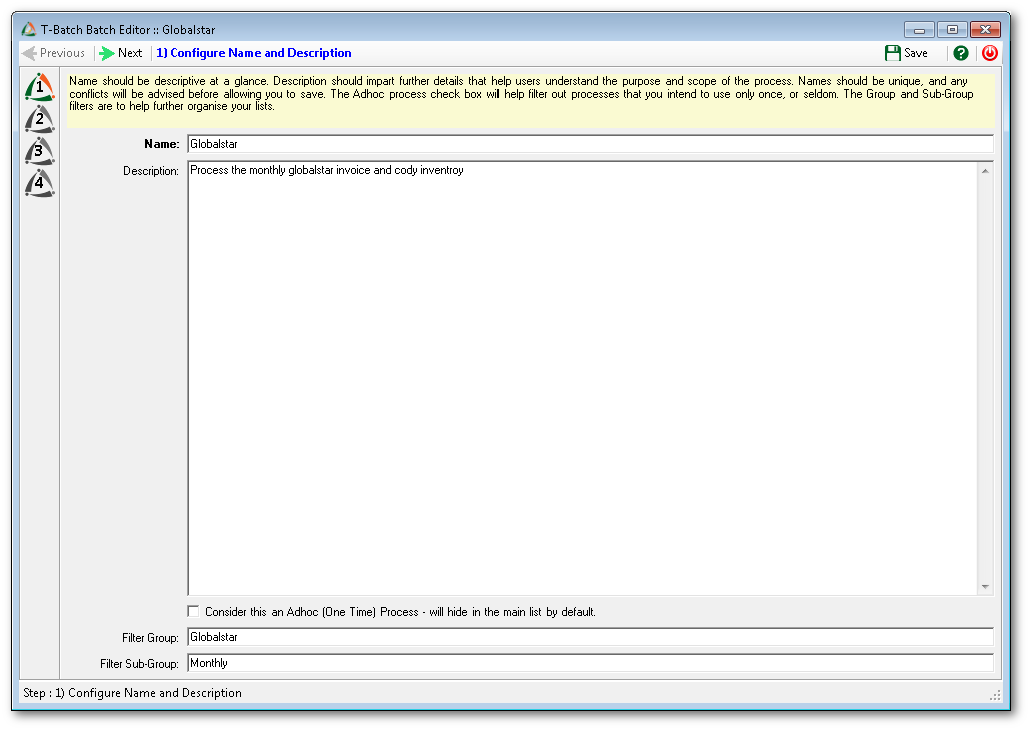
This step allows you to name the batch definition, as well as provide a detailed description. Each job can also be assigned a group name and/or a sub-group name for future filtering.
|
 |
Step 2
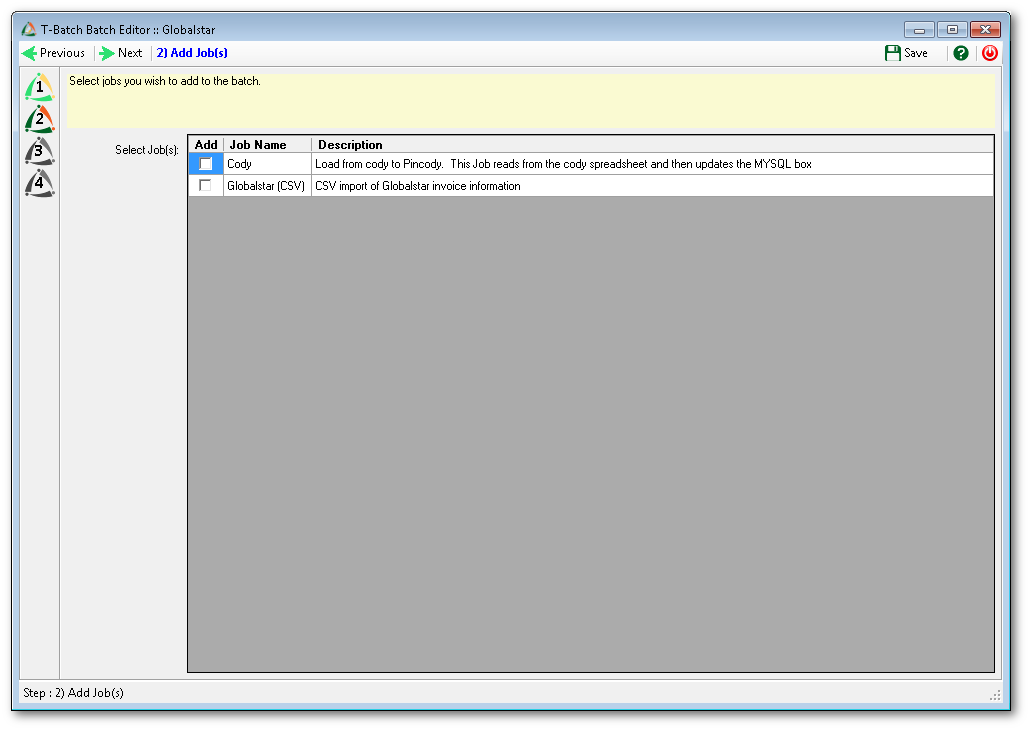
This is where you select the T-Loader jobs to be included in your batch definition.
|
 |
Step 3
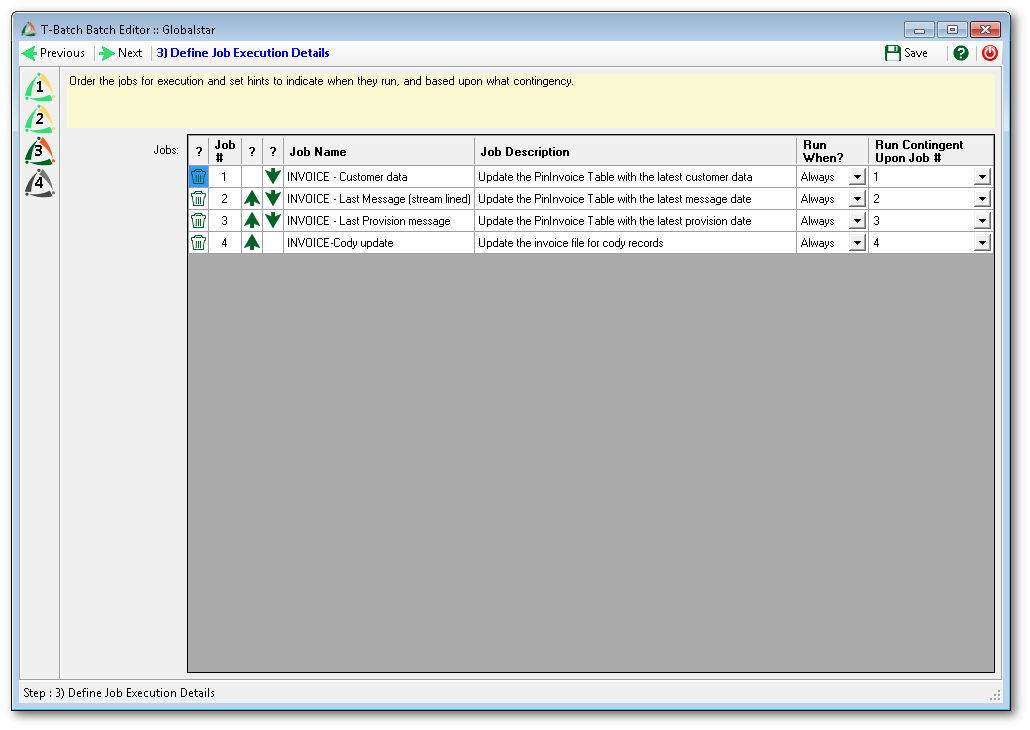
Here is where the job execution order is specified, as well as what the job triggers are.
|
 |
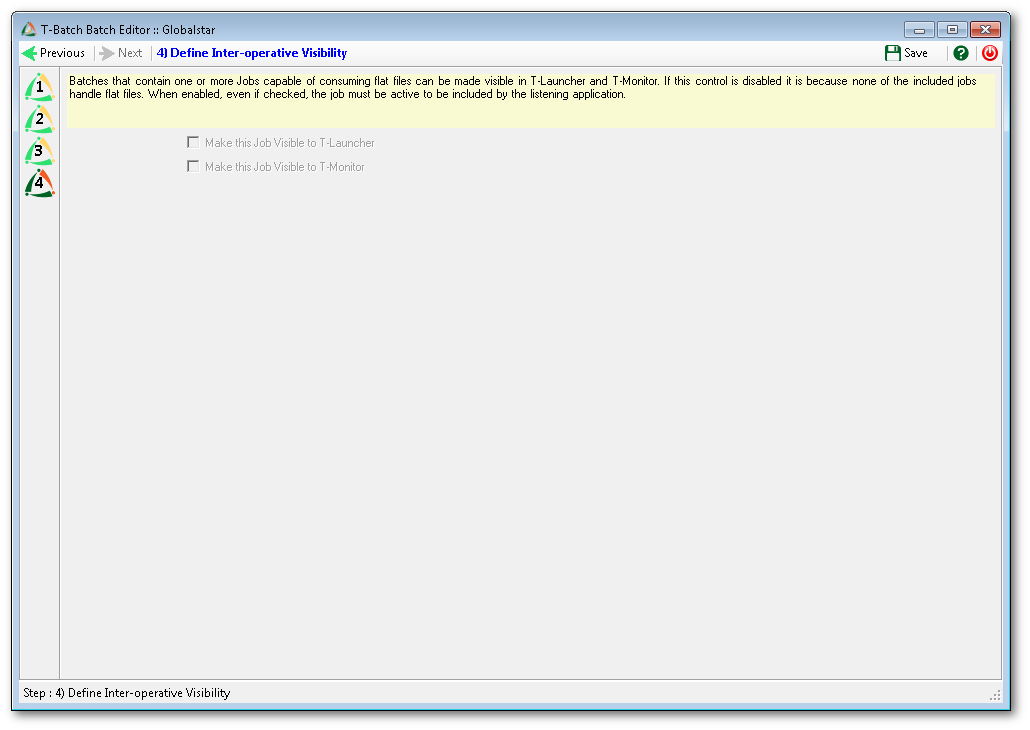
Step 4
If any of the jobs have a CSV or spreadsheet input source, then the batch definition can be made visible to T-Launcher and/or T-Monitor.
|
 |
